Backup & Restore my
computerIt doesn't take long to backup your files, and
once you get into the habit of doing this, it just becomes routine. If you do not make
copies of your files and you ever have problems with your hard disk that require its
replacement, all of your personal files will be lost, forever.
Microsoft Windows 95 Backup
To run Microsoft Backup, press the Start button, then Programs, Accessories, System Tools
and select Backup.
When you first run Microsoft Backup (and unless you tell it not to
display the welcome screen) you will be presented with the following window :

Press the OK or press Enter on your keyboard. This will now display the
main Backup/Restore screen, similar to the following:
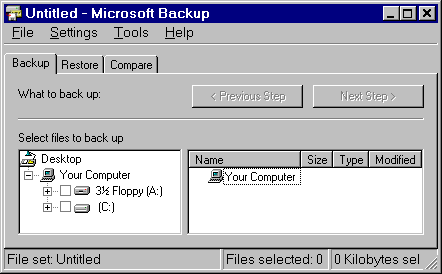
Select the drive you wish to backup by clicking the mouse in the empty
square next to the drive letter. When you do this, Microsoft Backup catalogues all the
files and directories on the selected drive, ready for the backup. Whilst the cataloging
is in progress, the following window will be displayed.
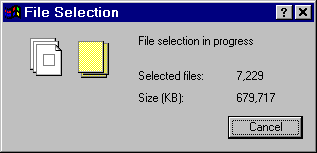
Once the files to be backed up have been catalogued, the Next Step
button will be made active. When this happens, press the Next Step button. The following
screen, requesting the drive or device to backup the files to, will be displayed:
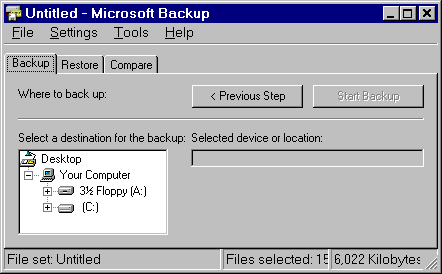
From the list of drives available to backup to, select one of the drives
(normally 3½ Floppy (A:)), then press the Start Backup button. The following screen will
now be displayed, requesting the name of the backup set. Key in anything here that
describes what the backup is, e.g. Full System Backup, and press the OK button, or press
the Enter key on the keyboard.
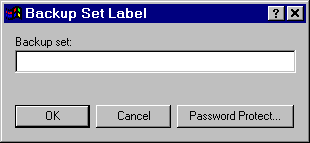
Microsoft Backup will now locate the original files and back them up to
the device specified. Whilst this is taking place, the following window will be displayed.
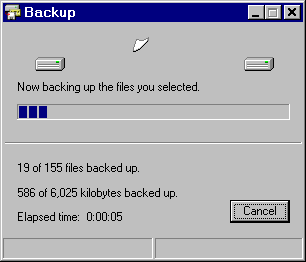
During the backup, and depending on the type of device you selected to
backup to, you may be asked to insert another disk or tape. If this happens, your will see
the following window :
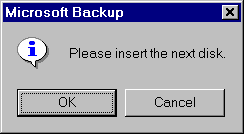
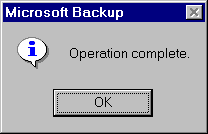
When the backup is complete, the following window will be displayed.
Press the OK button or the Enter key on the keyboard to return to the main Microsoft
Backup window.
Microsoft Windows 95 Restore
The restore process, is in effect, the opposite to backup. Use this option to put back any
data lost on your computer - providing you have a backup of it! Restore is simply another
option within Microsoft Backup. To restore a backup, select the Restore tab on the main
window.

From this window, select the drive or device that contains the backup
you want to restore. When you do this, the system will look on the disk or tape for a
backup set, and, when it finds one, will place the name of this set in the right-hand pane
of the window.
From the list of backup sets, select the one you want, and press the
Next Step button. Once you have done this, a window similar to the following will be
displayed :

In the left-hand pane of this window is basically a folder or directory
listing of the backup. At the top level is the Backup Set name, followed by the drive
where the files were originally located, and finally, folders or directories copied. You
can either perform a selective restore, or restore the entire backup.
To do a Full System Restore:
- In the right hand window, click the check box next to the Full System
Backup set.
- Click Start Restore.
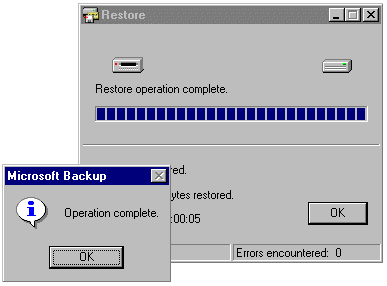
- After your files are restored, restart your computer.
To do a Selective Restore:
- In the left window, click on the folder or directory name that contains
the file(s) you want to restore.
- To display more folders, click the plus sign next to a folder. Select
individual files in the right hand side of the window.
- Click Start Restore.
Note: If you use the full system backup set to restore individual files,
you may get a message that the registry was not restored correctly. If the Windows
directory was not restored, you can ignore this message.
 

|

